IELTS Registration in Bangladesh: A Step by Step Guide
After months of preparation, you are just one step away from acing the IELTS test: IELTS registration. Here I have demonstrated a complete guideline on IELTS registration in Bangladesh so that the hectic registration process does not hold you down.
These 10 simple steps will walk you through a successful IELTS registration. This blog covers the IELTS registration process not only with the British Council but also with IDP.
What is IELTS?
IELTS is a proficiency test designed to assess your English language skills. This test tends to be taken when you aspire to move to an English-speaking country to work or study.
What areas does IELTS measure?
IELTS evaluates all the four distinct areas of English language.
⦁ Listening
⦁ Reading
⦁ Writing
⦁ Speaking
How is the IELTS test scored?
IELTS test score ranges from 0 to 9 band. Your final test score is calculated by averaging your band score in four modules.
How long is the IELTS certificate valid?
The validity of IELTS certificate is two years from the test date.
How many versions of IELTS are there?
IELTS consists of two versions: Academic and General Training. While candidates wishing to pursue higher education overseas have to sit for IELTS Academic, those dreaming to work or migrate to English-speaking countries sit for IELTS General Training.
What documents are essential to have before registration?
All you need is a valid passport and the registration fee deposited in the Bkash/ Nagad account. Anyway, payment can also be done by credit card.
How to register for IELTS?
There are 10 simple steps for IELTS registration with the British Council. The second half of this article also involves IELTS registration with IDP.
Step 1: Create an account with the British Council website;
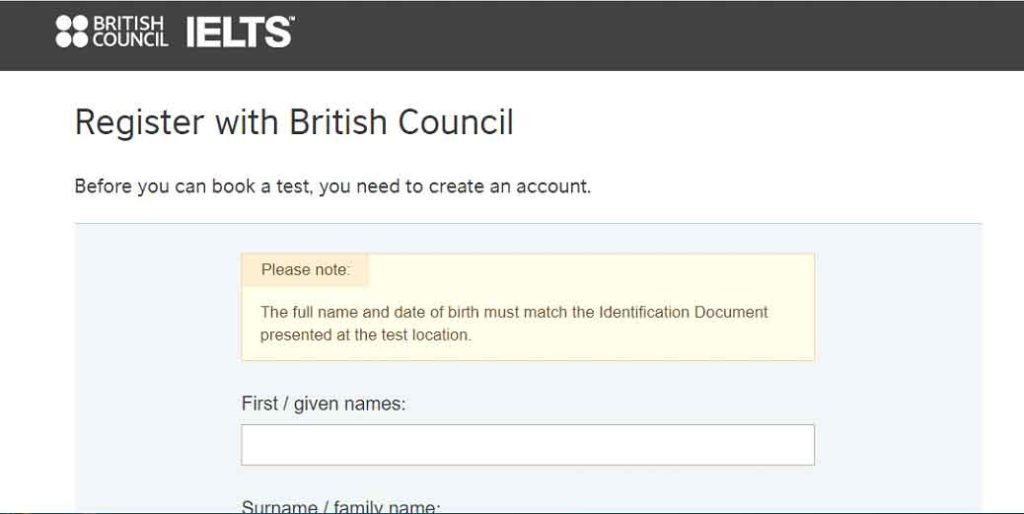
click here to start the process. In the beginning, you need to create an account. Here you have to put your first name, surname, date of birth, email, password, and your marketing preference. To move to the next step, you need to agree to the account registration terms and conditions and click on “Register”. Don’t forget to write down your email and password for the next steps. Once you are starting your registration process, you’ll find a page like a photo BARC 1.1
Step 2: Log in to your account with the email and password you have just used while creating the account.
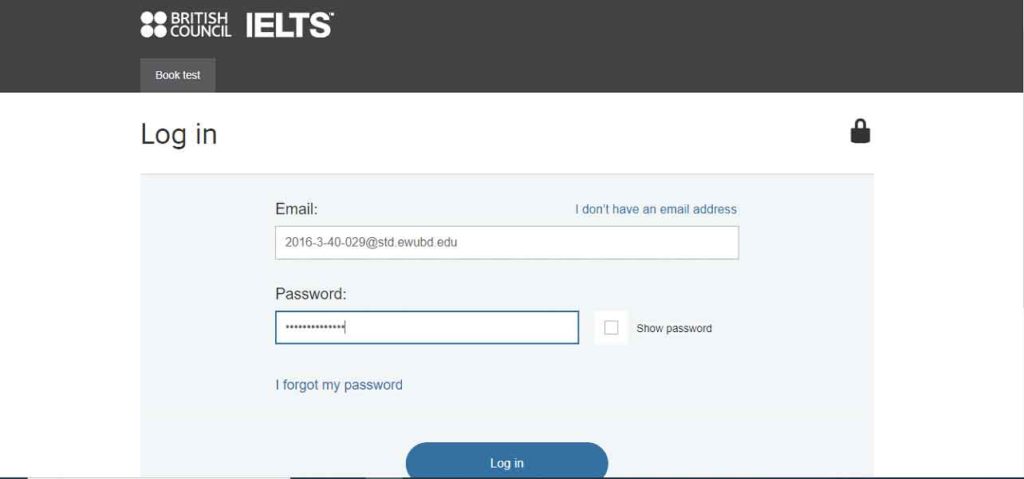
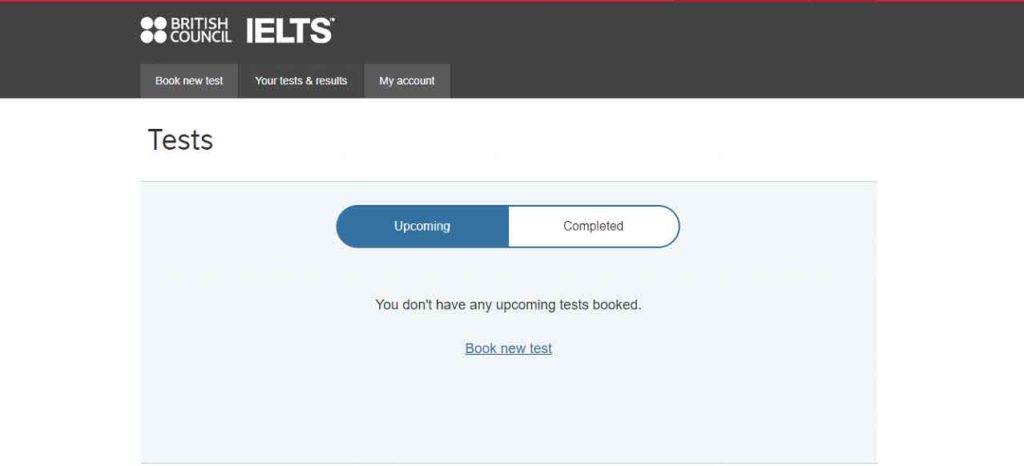
Click here to login to your “Test taker portal” and then click on “Book new test” as can be seen in the photo BARC 2.2. You’ll find this option on the top-left corner of your screen. Interestingly, by logging into the portal, you can check the IELTS result, register next time without filling in details, request for sending TRF (Test Report Form) to universities you are applying to.
Step 3: Choose the appropriate type of IELTS (Academic/ General Training).
If you are following this article from the beginning, you already know the difference between IELTS Academic and IELTS GT. If your purpose of taking the test is to pursue higher education, go for IELTS Academic; for any other purposes like work or migration, go for IELTS GT. You’ll see a picture like a photo BARC 3.1 while at this stage.
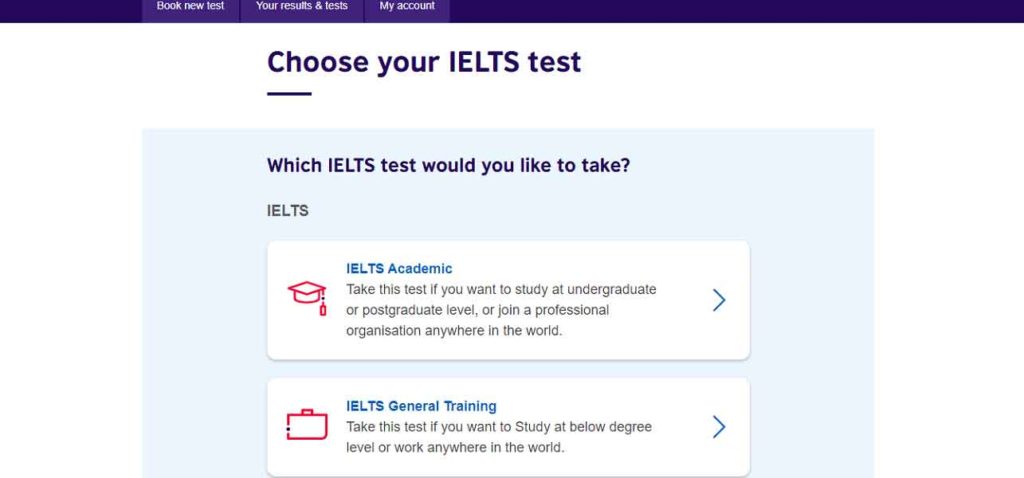
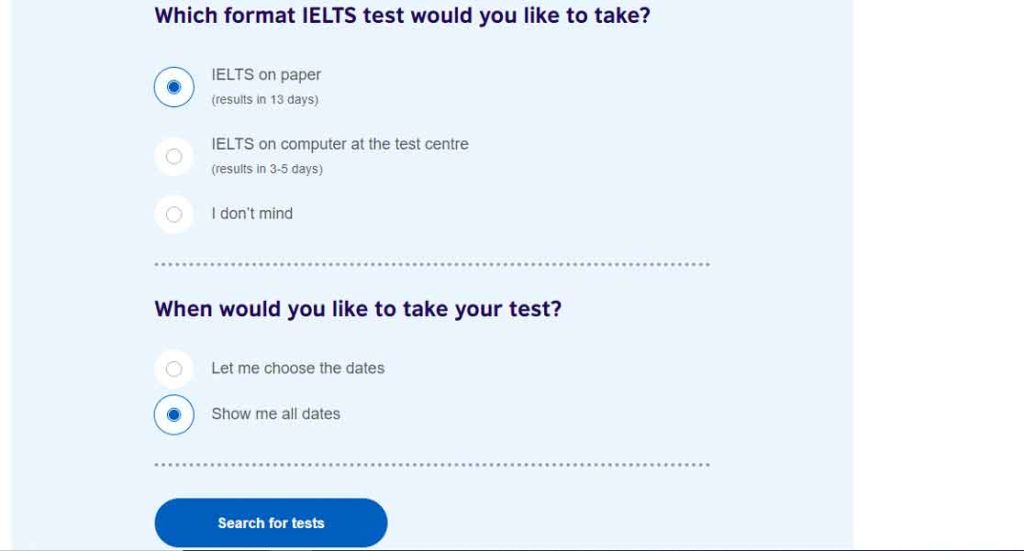
Step 4: Select test information like your country, city, accessibility needs, exam format (on paper/ on the computer), and click on “Search for tests”.
Put your preferred city and country where you would like to take the test. Be clear about accessibility needs. Unless you are dealing with disability or in need of special arrangements like scribe, assistive technology, modified listening CD, hearing impaired version or exemptions carrying hearing aids to the test venue or so, you should not click on accessibility needs. If you require any of those due to your vision, hearing and learning difficulty, make sure you ask for accessibility needs at this stage. Also, fill up the mood of IELTS (Academic on paper/ IELTS on computer) and click on “search for tests” as shown in the photo BARC 4.1 and then choose your intended date.
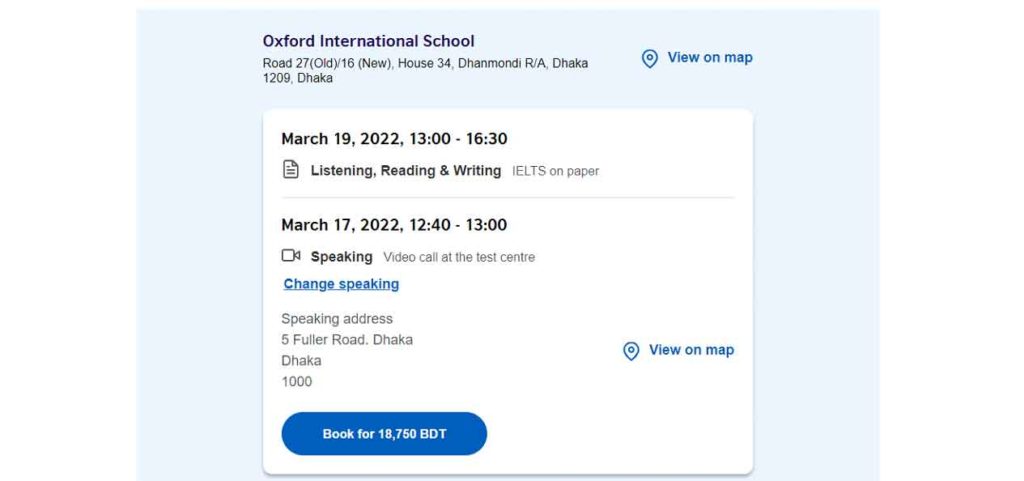
Step 5: Click on “Book for 18,750 BDT” after choosing your preferred date and venue.
You will see a series of venues and test dates. Read carefully and pick your most suitable venue and date to appear in IELTS. In 2022, the registration fee is BDT 18, 750 for regular IELTS in Bangladesh. It is subject to increase annually.
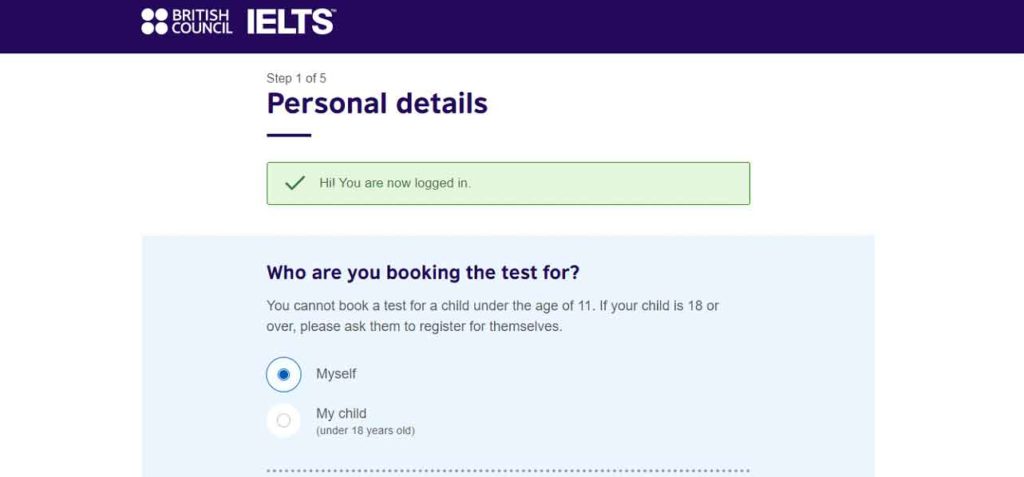
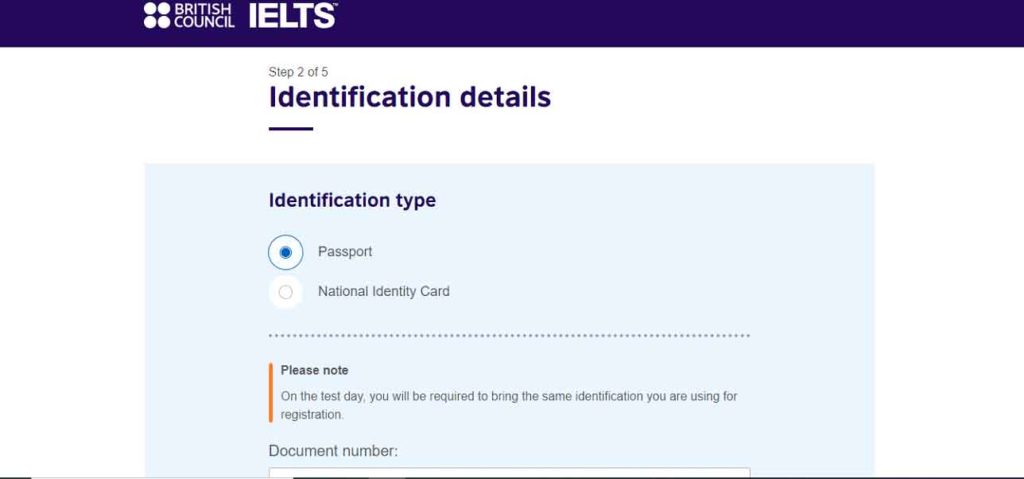
Step 6: Fill up ‘Personal details’ (BARC 6.1), and then identification details e.g. passport/ NID (BARC 6.2).
Although the British Council did not have any options of sitting for IELTS with NID, recently this opportunity has been available. However, I suggest you sit for the test with the passport as it is an international document and you need the passport to go overseas. And it’s a good idea to apply for the passport a couple of months in advance unless you have one.
Some may least care about the venue selection. Nevertheless, this is something to be vigilant about. As the examination day is a hectic one, everyone would be trying to combat stress and hassles. And for this one of the best ways is selecting a perfect venue. You should consider 3 factors while picking a venue which are as follow.
- Location: Selecting a venue of your nearest location is way more important. This is simply because it helps you get rid of unexpected traffic congestion. Neither does it consume your energy eventually. Awareness about it beforehand might refrain you from extra exhaustion resulting from a visit to a distant venue despite having a venue nearby.
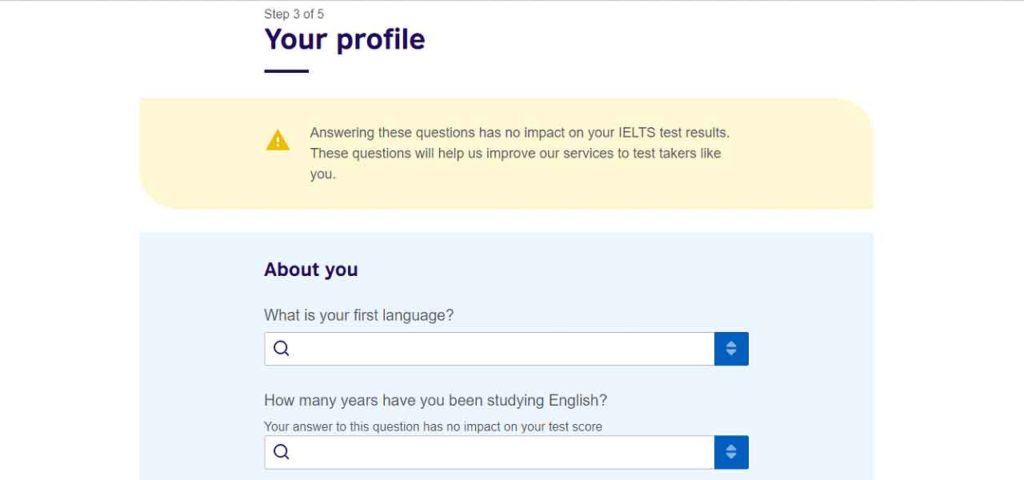
Step 7: Fill up your profile details, like your first language and why you want to take the test.
Smile please, you’re dealing with the easiest step. At this stage they need you to fill up information about your first language and how many years you have studied English. This does not explicitly carry any value to your overall application as the information you are putting at this stage does not affect your registration. At this stage, you’ll see a page like the photo BARC
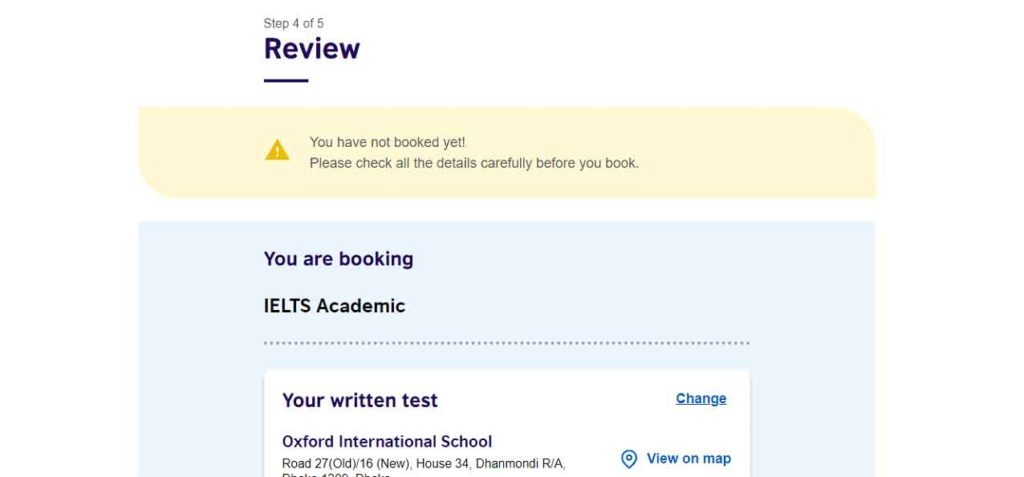
Step 8: Review your test details e.g. test dates, passport information and your personal information and make changes if needed. See figure BARC 8.1 for a sample page of this stage.
This stage is significant for you. It offers you the last chance of looking at all the information you have given so far. You can review and make corrections where necessary but take some more time to read between the lines at this stage. This is your last chance to edit your information. Be sure before proceeding further.
Step 9: Click on “Pay and Book now” or “Book now pay later” depending on when you would like to complete the payment procedure.
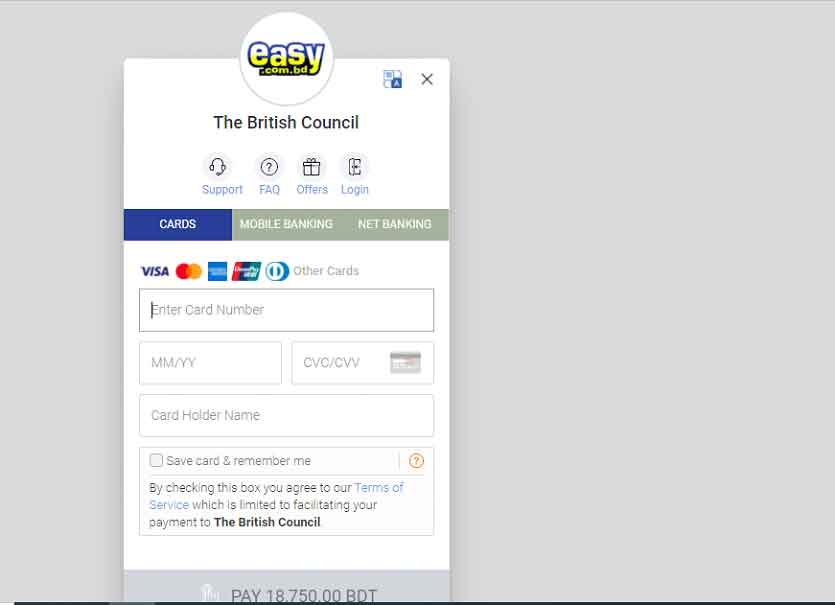
It’s better to keep the amount of money needed to register for IELTS deposited into your account once you plan to register for IELTS. However, you have options like ‘book now pay later’. You have flexibility to pay with your credit card and mobile banking, therefore, you can even pay staying at home. Days are gone when you needed to keep waiting in the queue in the bank to pay registration fee.
Step 10: Select your convenient mode of payment, e.g. cards, mobile banking and then fill out the card or mobile banking details and pay the registration fee.
Whewww! You are done, the stress is gone.
Take a deep breath. You’re at the end of the IELTS registration. You’ll then receive a payment confirmation email from the British Council about your test details. Keep track of the reference no, email and password for any further actions like logging into test taker portal for results and other essential activities (request to send your results to foreign universities). You are done with the registration and relax now! You are done. Congratulations in advance on your brilliant IELTS result!
IELTS Registration with IDP:
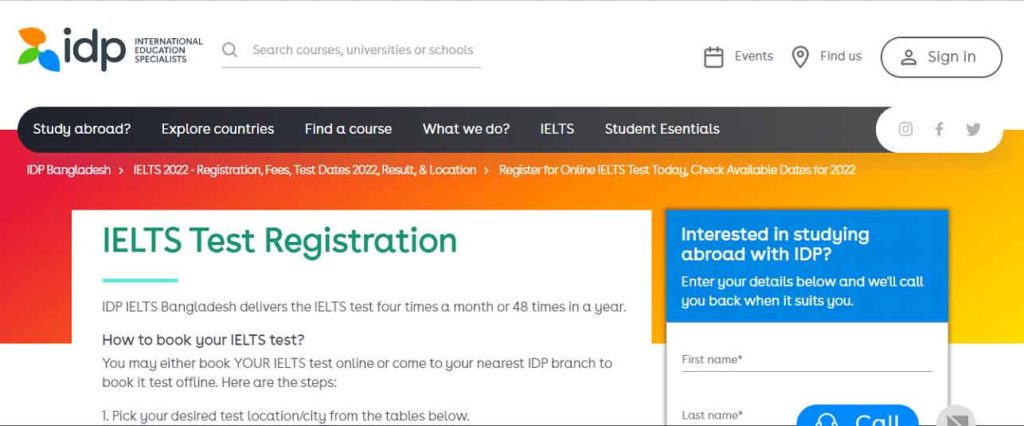
Step 1: Go to IELTS Test Registration- IDP Bangladesh page. Click here. At this stage, you’ll find a page like the figure BARC 11.1.
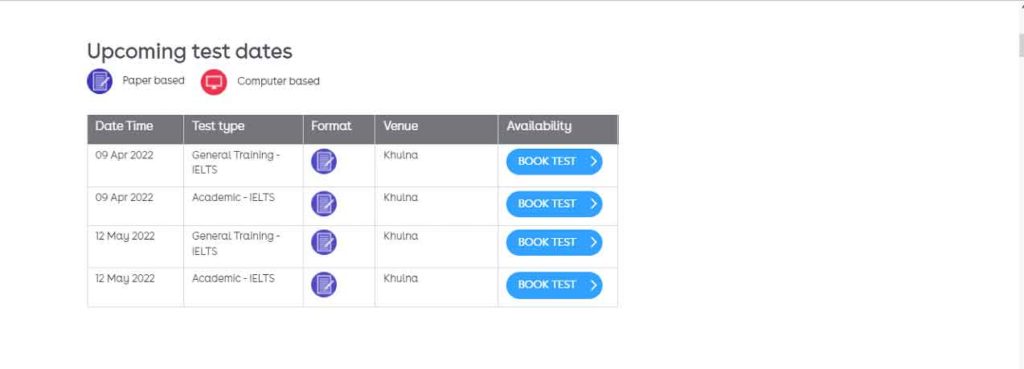
Step 2: Click on ‘BOOK TEST’ next to the venue, test type and venue of your preference.
Be vigilant about the test type (Academic/ General Training) you are selecting. You’ll see an interface like the figure BARC 12.1.
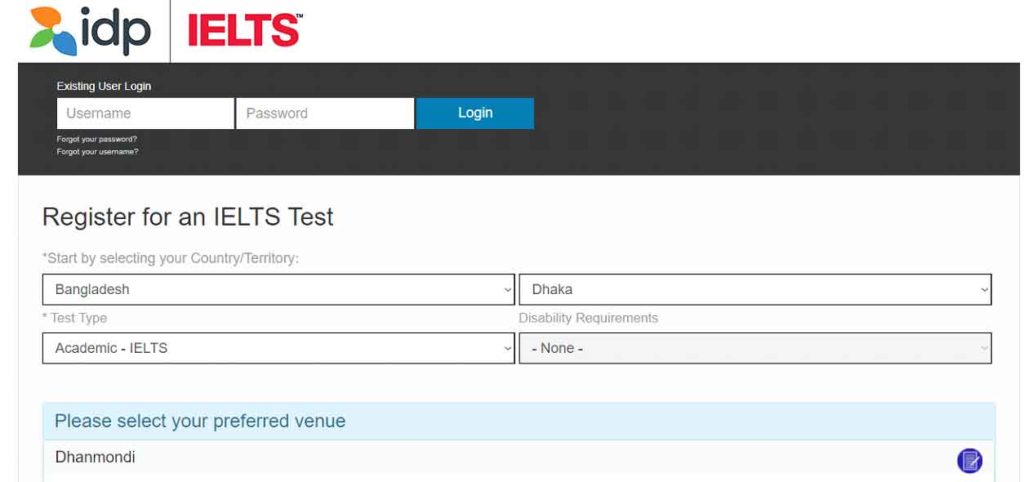
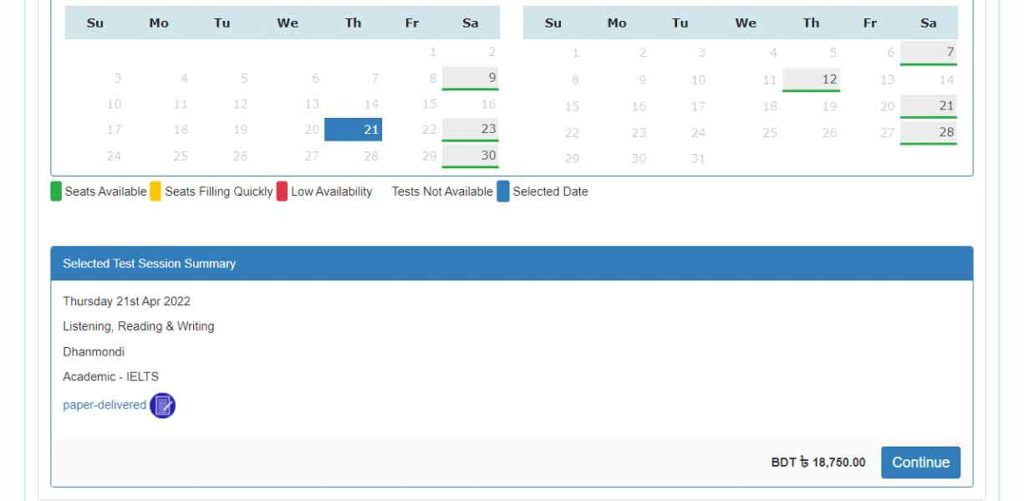
Step 3: Click on ‘Continue’ to move to the next stage. You’ll get this option at the bottom of the page on the bottom-right corner as shown in the photo BARC 13.1.
Step 4: You will find a page like the photo BARC 14.1. Click on ‘Create New User’ unless you already have not been an existing user.
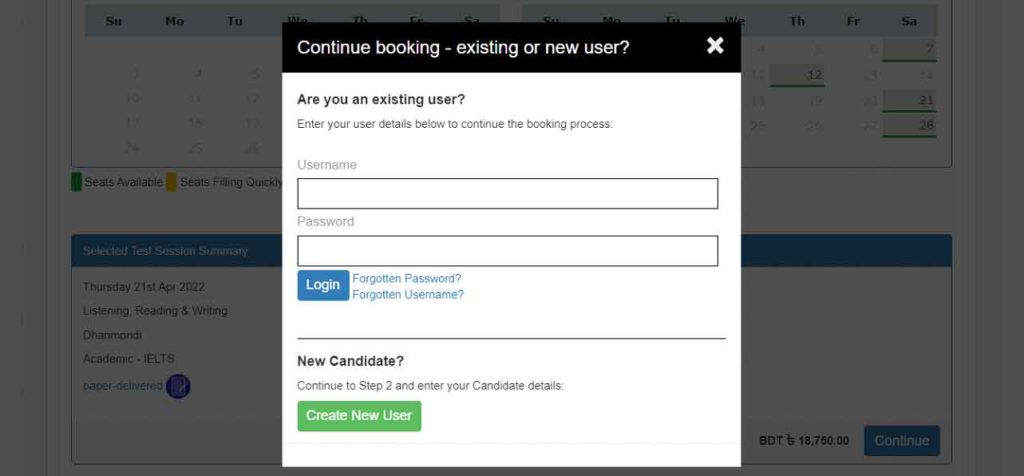
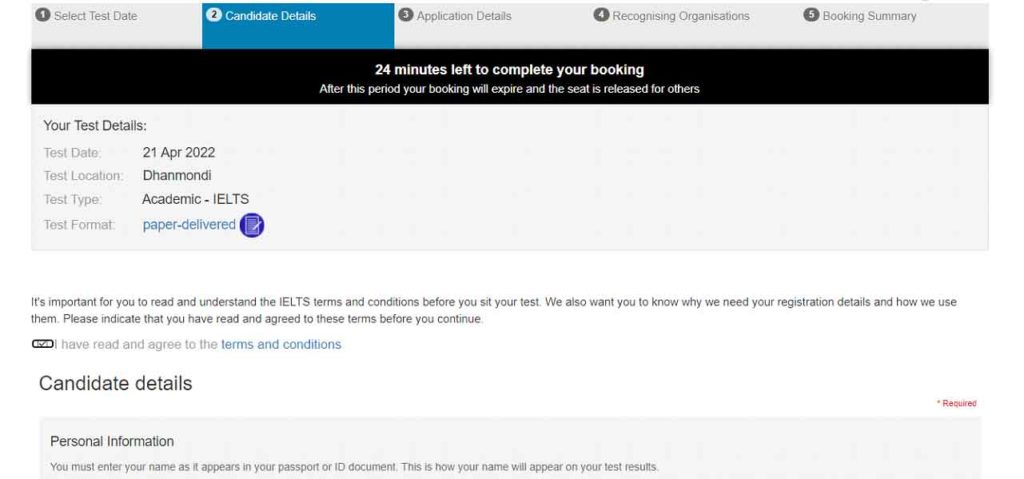
Step 5: Click on ‘Register’, as shown in the photo BARC 5.2 after filling up your personal information. Once you are on this page you will see a page like the photo BARC 15.1 below. At this stage you have to fill up candidate details, as in your name, passport no, date of birth etc
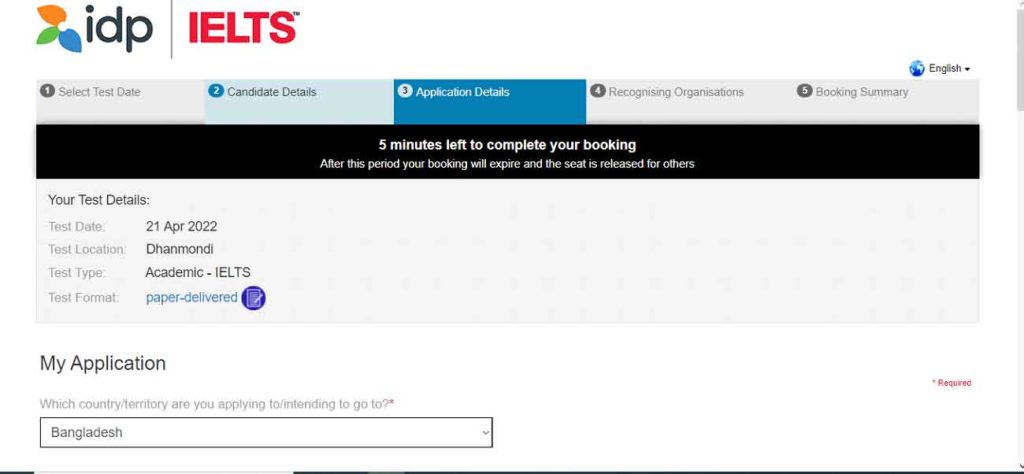
Step 6: You need to fill up ‘Application details’ and attach your identification document (NID/ Passport) at this stage and click on ‘Continue’ at the bottom of the page.


ProxiesCheap.com
yeah bookmaking this wasn’t a risky decision great post! .